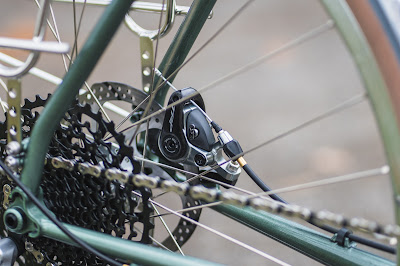
Disc brakes are a bit harder to diagnose as they are harder to see within. A flashlight would be helpful to see within the caliper. If the bike has hydraulic brakes, check the junction points at the lever and brake caliper for any leaks. Here's a picture of a fresh vs worn disc brake pad.
|
| photo from www.totalwomenscycling.com |
Now give each brake lever a squeeze and try pushing the bike forward. Obviously if the brake works, it will be difficult to push the bike forward. If the bike has disc brakes and can be moved easily, then something is very wrong. The pads and rotors could be contaminated with grease or oil, or there is a leak in the hydraulic hosing, the cable/housing needs to be replaced, or the caliper needs to be re-built or replaced. Either way, it will need to be diagnosed when it's in the stand and disassembled.
While you're grabbing the brake levers, let's check the.......
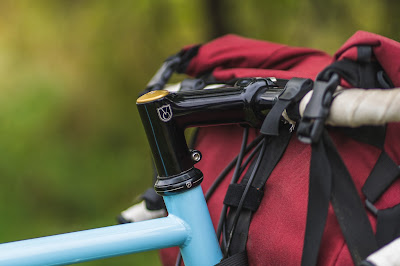
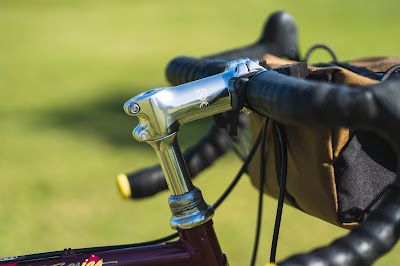
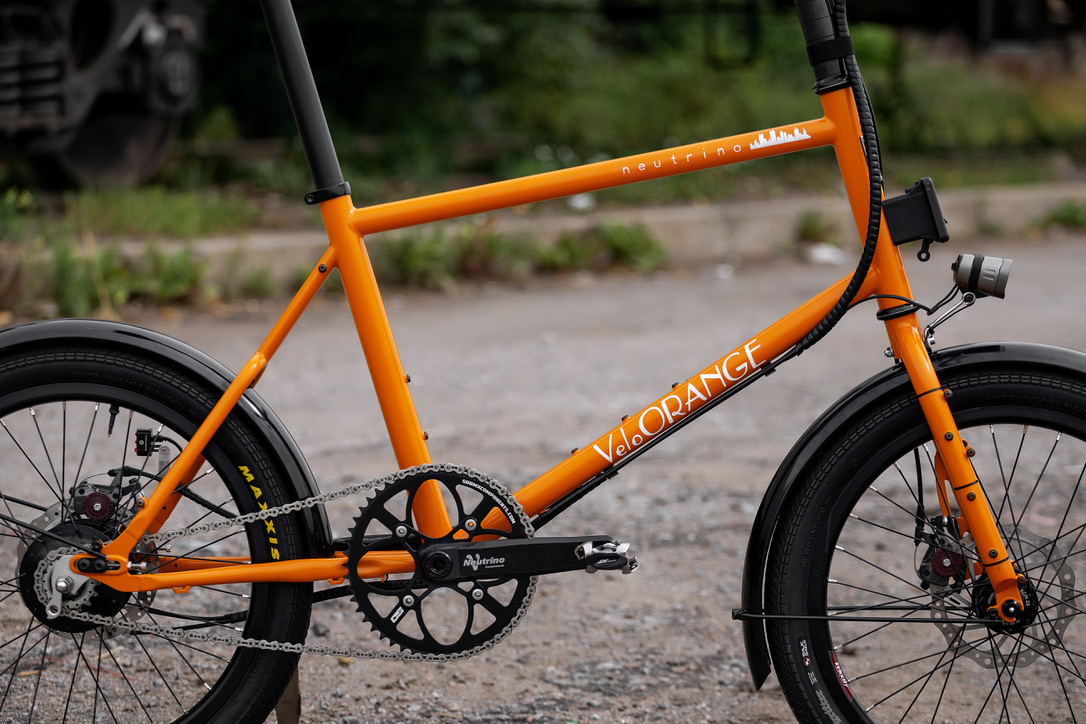
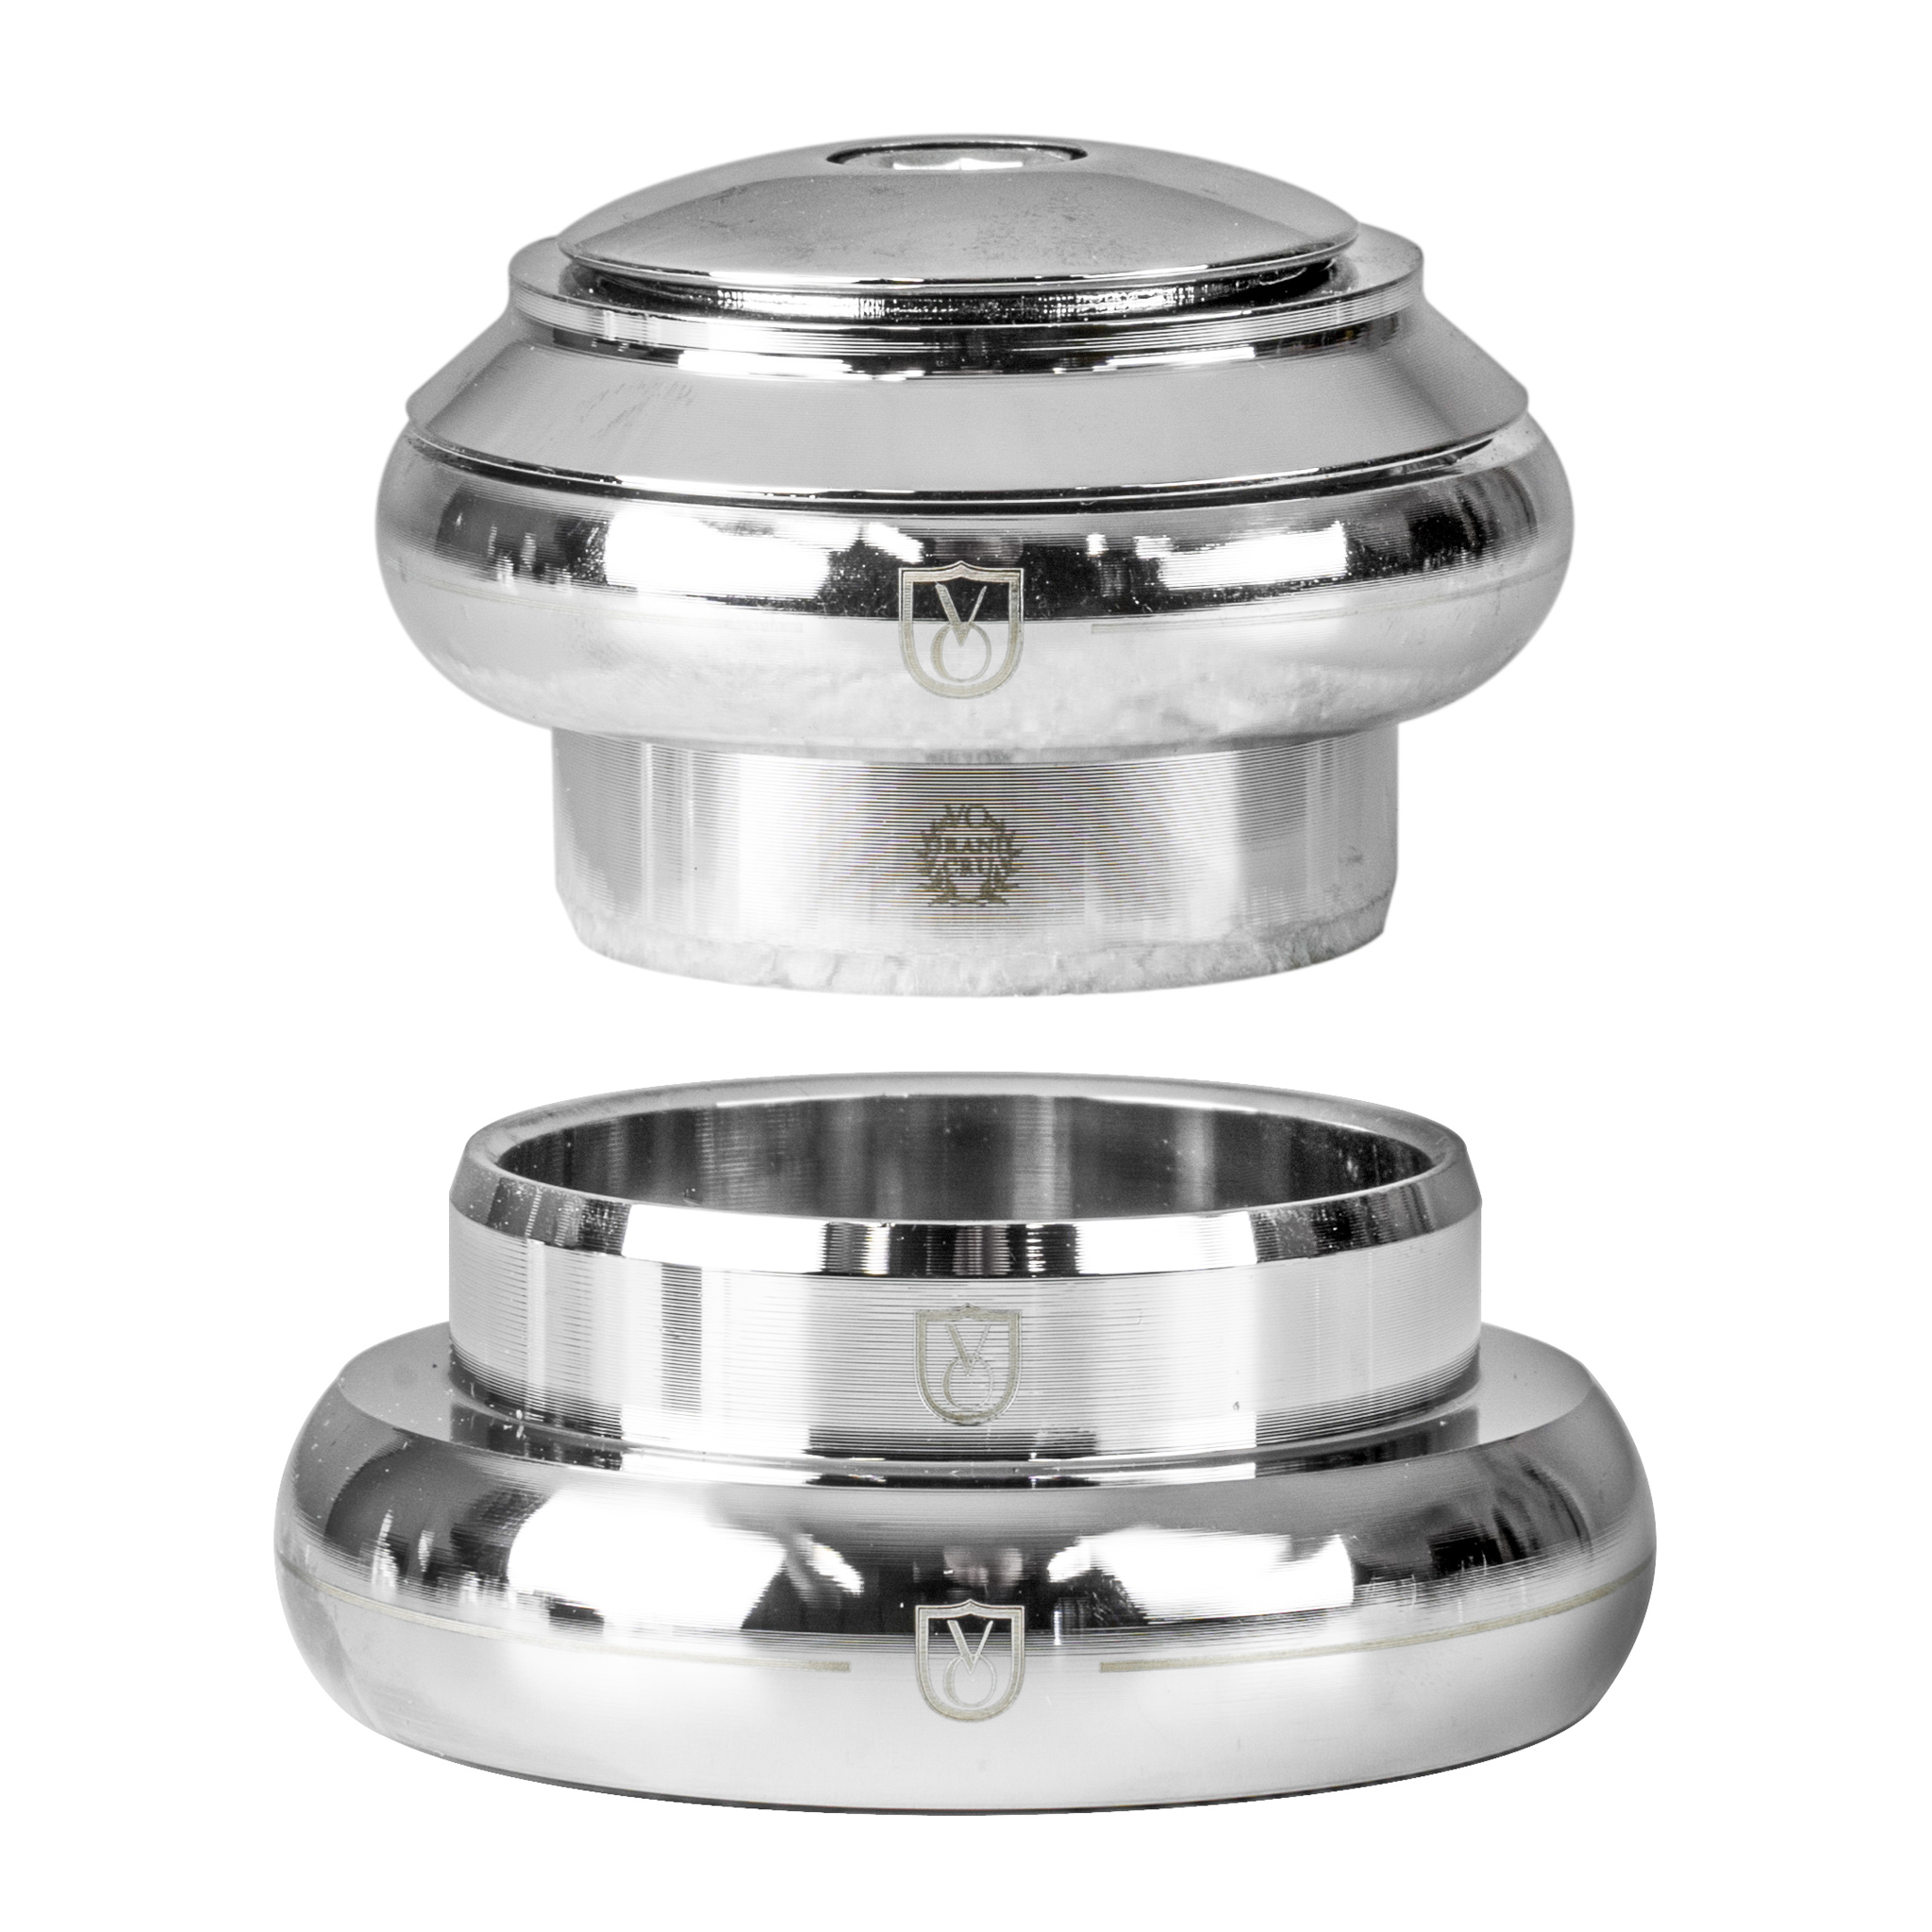
Headset
Grab the front brake lever and rock the bike forwards and back. If the
headset moves, it will need to be adjusted or rebuilt (depending on how it is made). Some disc brake pads move within the caliper (which is normal). You might need to turn the handlebars 90 degrees (wheel to the side) to isolate the headset from the brakes.
Drivetrain
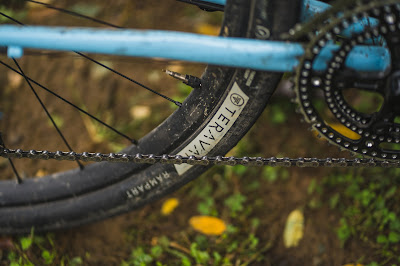
First, check the
chain for rust, stiff links, gunk, and correct length. You probably don't have a chain measuring tool at home, but if the rest of the drivetrain looks to be in decent shape, you can probably roll with it.
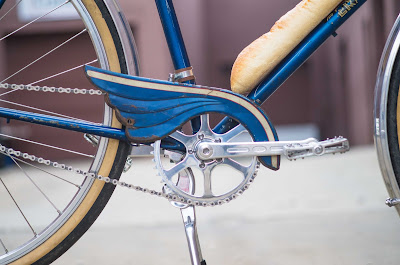
Inspect the
crankset for shark-tooth teeth, missing or damaged teeth, and general condition of the crankarms. Scuffs from shoe rub are pretty normal, but wear shouldn't go beyond cosmetic.
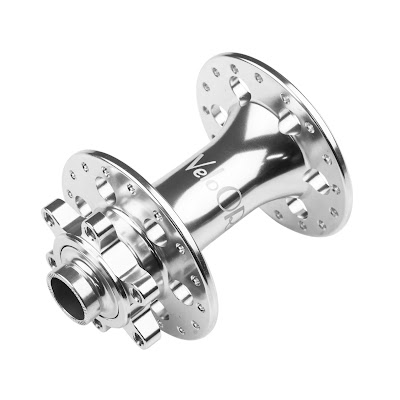
Grasp the crankarm and pull it back and forth to check for
bottom bracket play. If you feel any knocking or looseness, the bottom bracket will likely need to be rebuilt or replaced. Depending on your mechanical comfort level, you can also spin the crankset backwards to confirm the spindle is straight and the spider is true. Spin the
pedals, too to see their condition.
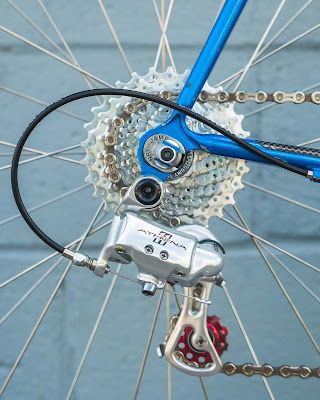
Let's look at the derailleurs. Check the front to make sure it isn't bent, worn through, or rusted. Push the cage in and out to make sure it moves.
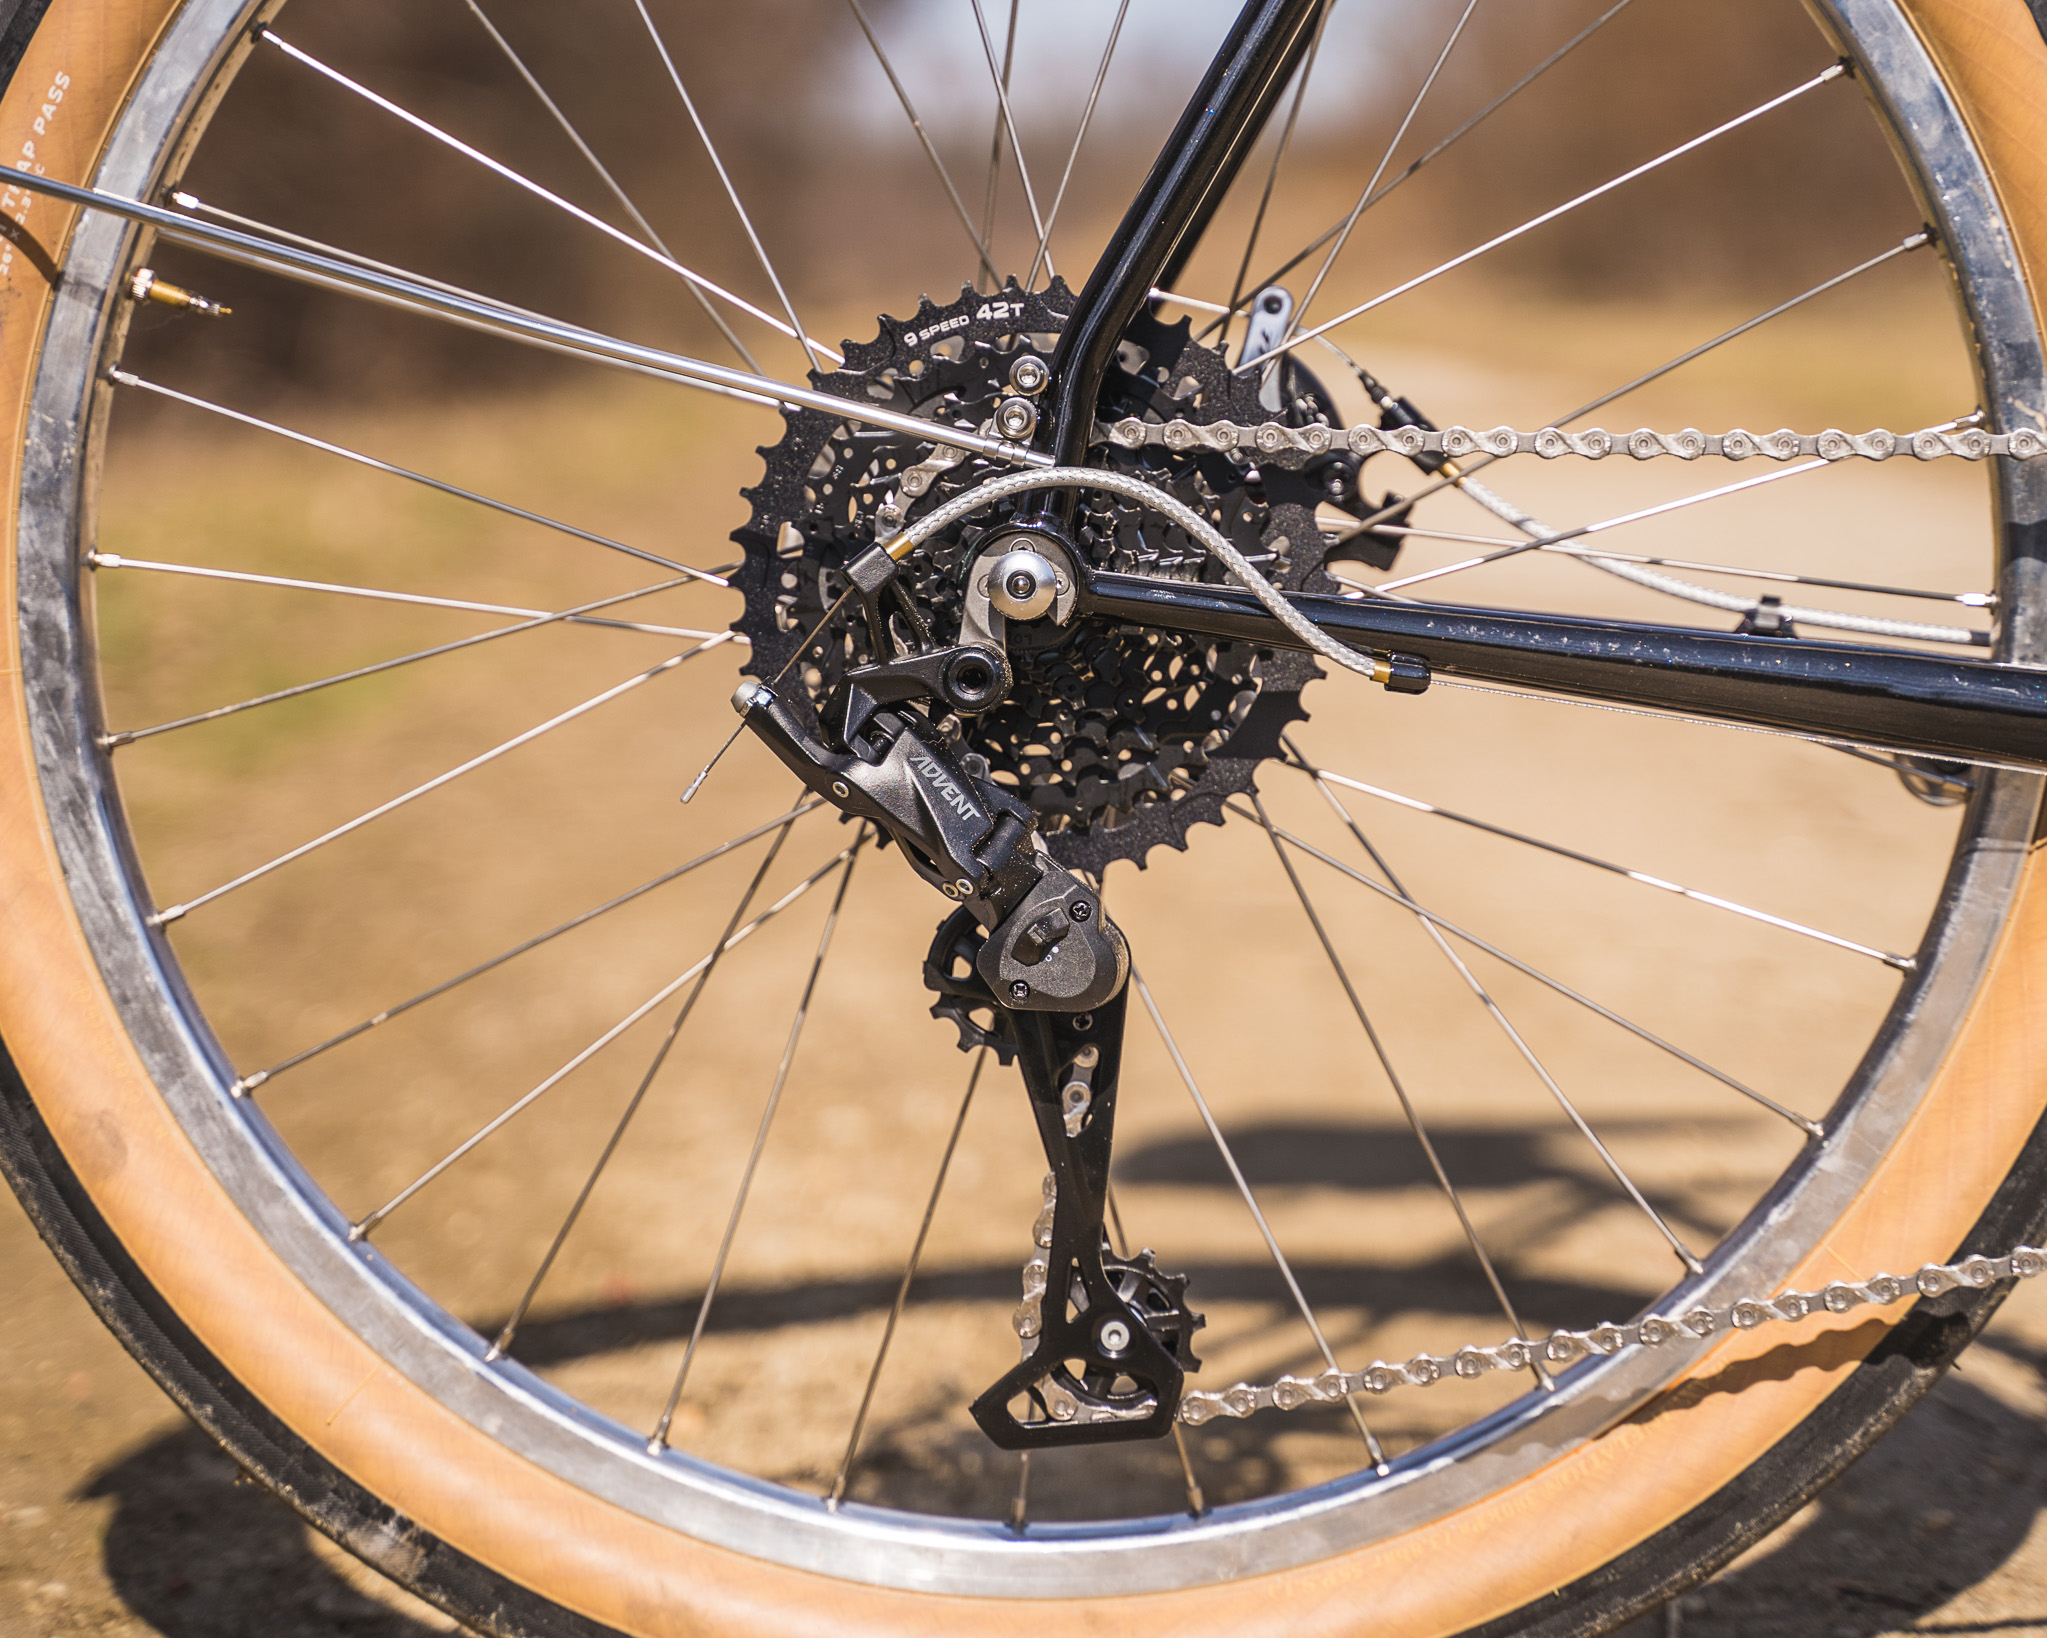
For the rear derailleur, look at it from the back of the bike. It should be straight and not bent in either direction. If it is bent, the frame's hanger or the cage could be bent from an impact. Check the derailleur for scuffs, scratches, or damage. How are the
jockey wheels? Gross? Shark-toothed?
Check both the front and rear derailleur for smooth operation. This is best done in a bike stand, but in a pinch you can hang the bike from a tree branch, a broomstick between two chairs, or some other creative perch. Turn the crank as you shift through the gears. The chain should move freely from one gear to the next. You'll also want to make sure the chain does not drop off the cassette or chainrings at the highest and lowest gears.
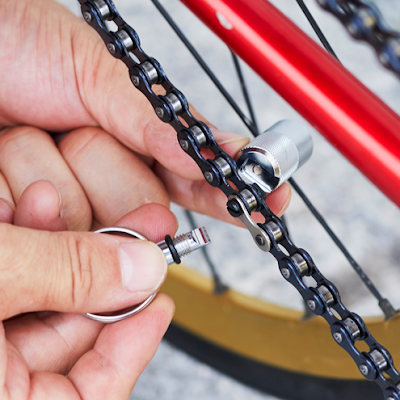
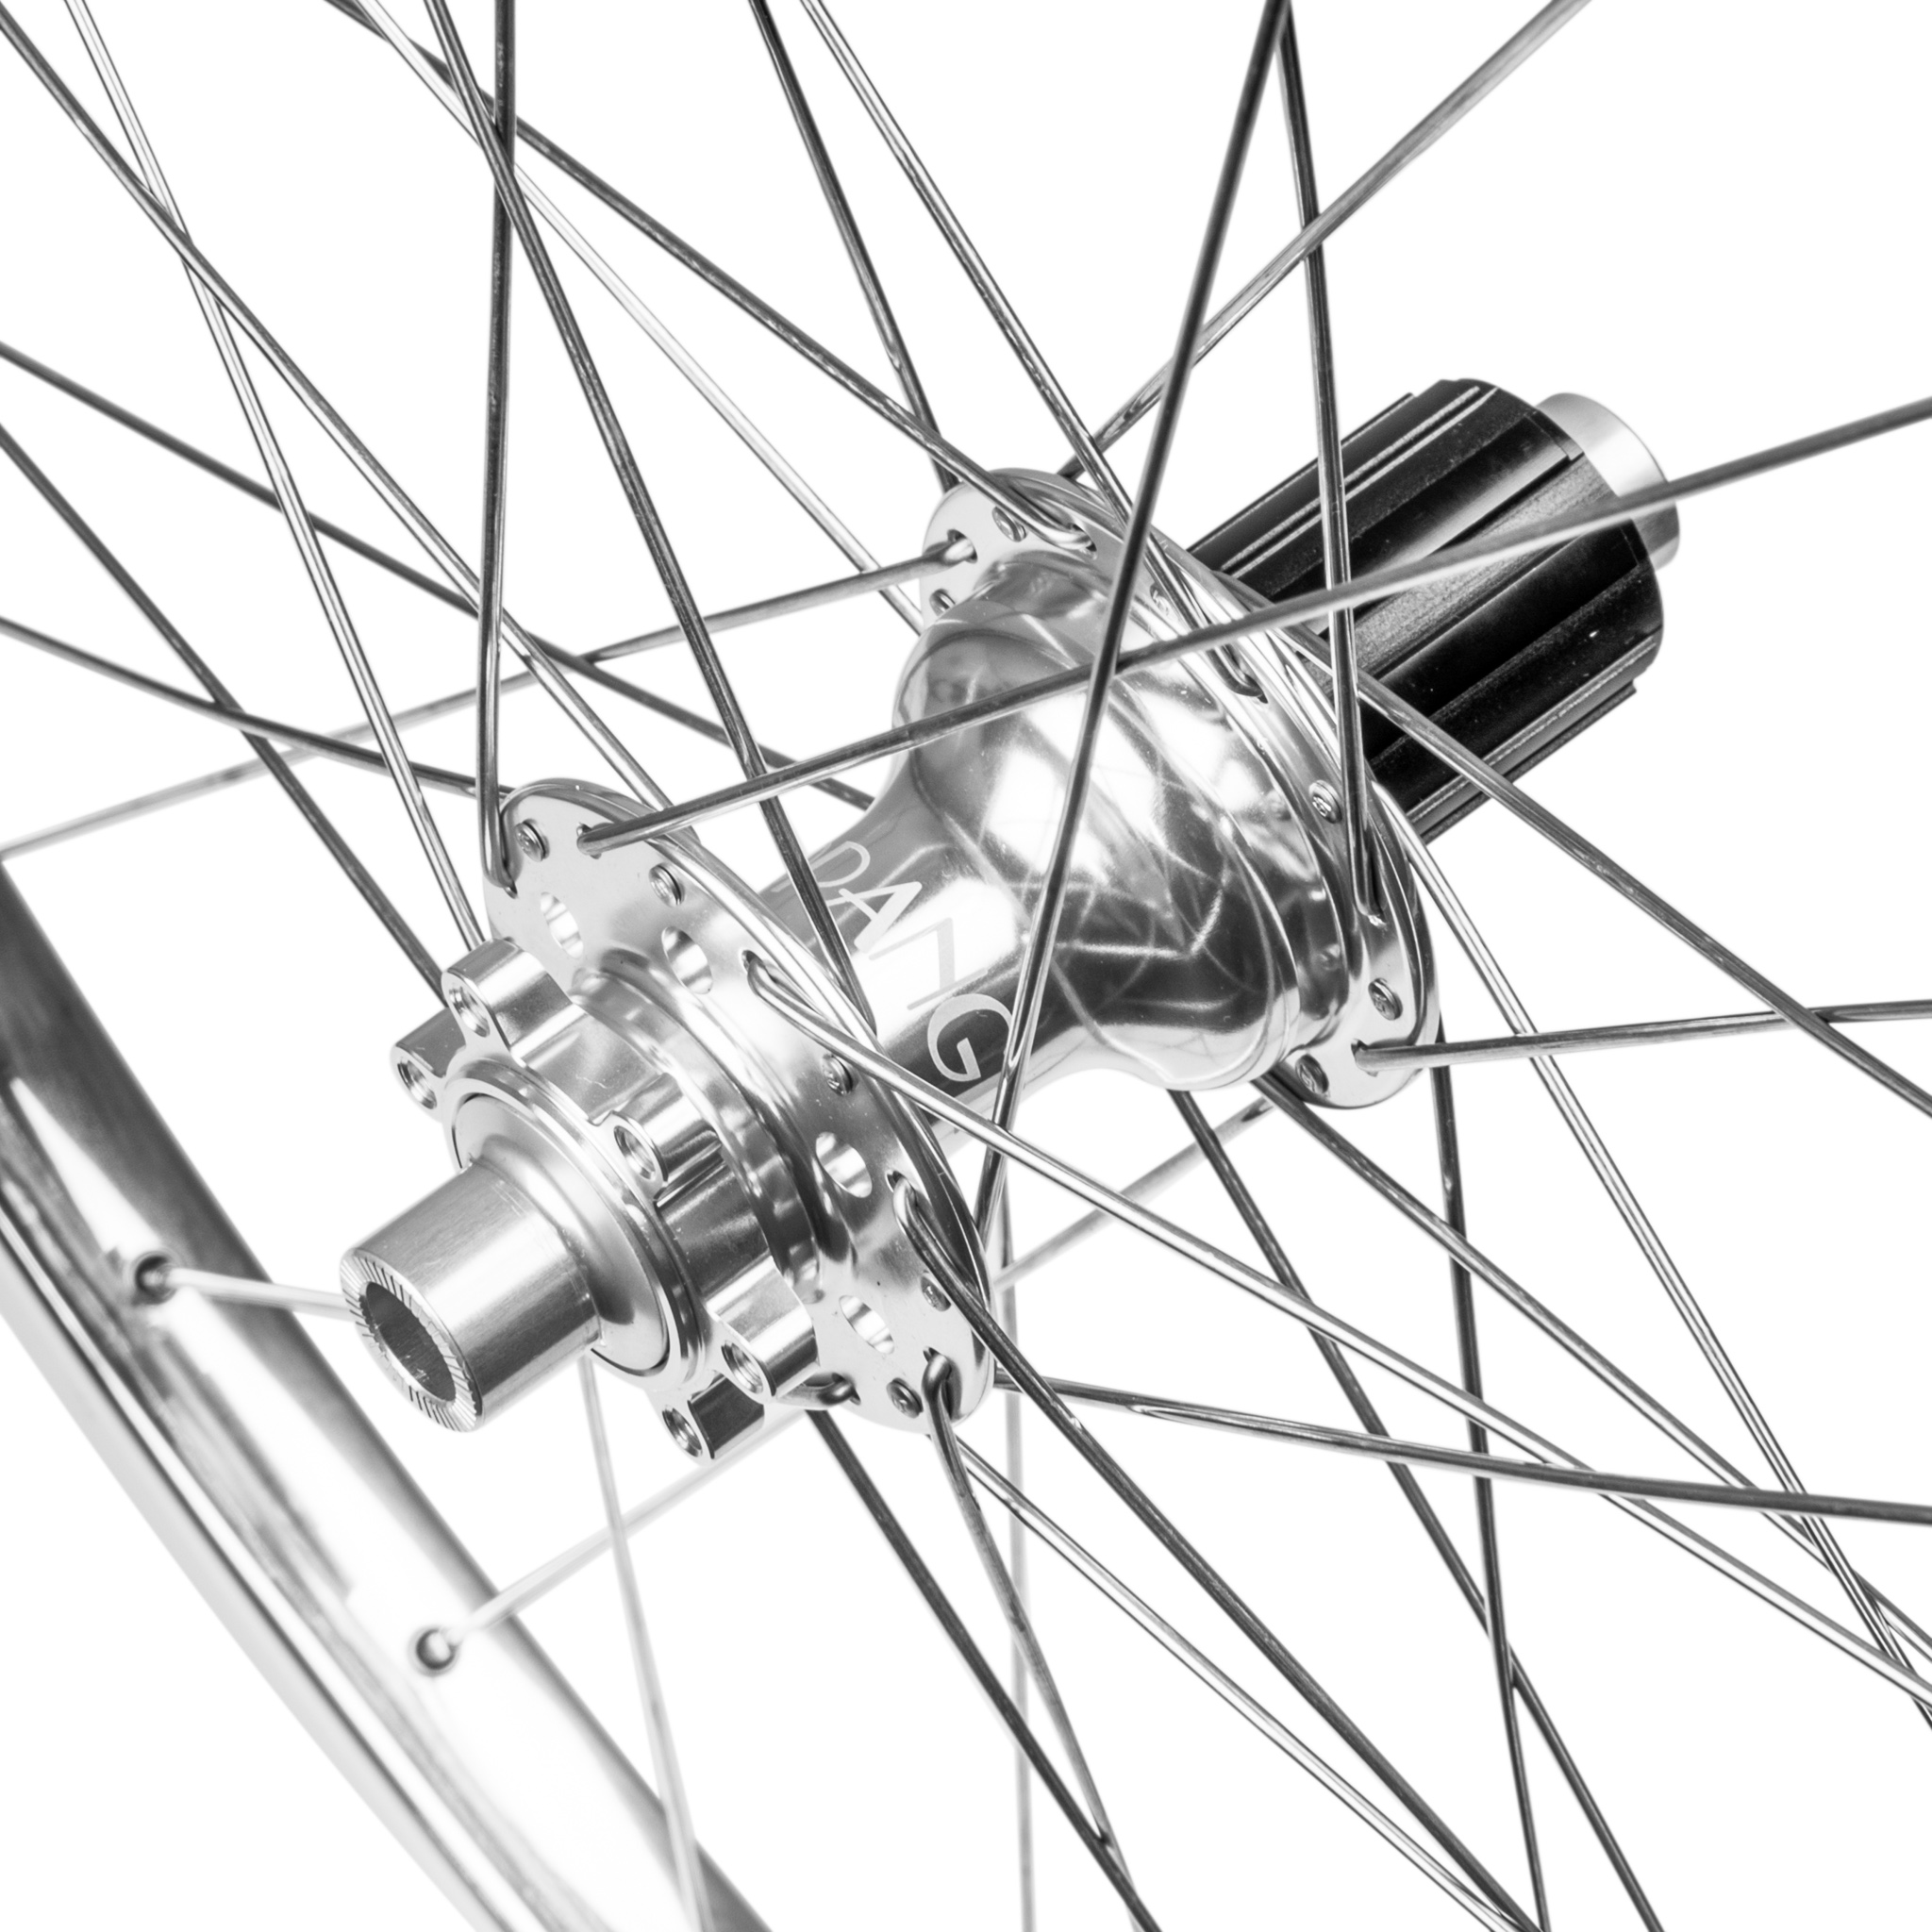
Lastly, let's check the cassette or
freewheel. Grab a rag or glove for this one. Grab the lowest gear with your index finger and thumb and move it towards and way from you. It's shouldn't move. If it moves, the cassette either needs to be tightened or the freehub body needs to be replaced or re-built.
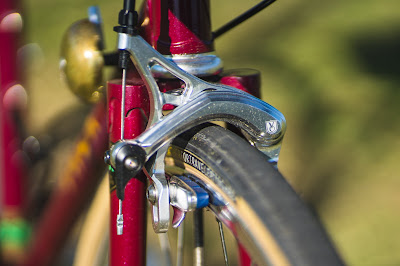
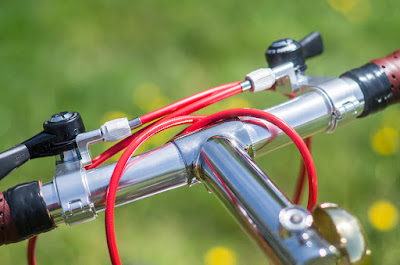
Cables or housing
Housing should be in tact without corrosion or cracks. Check the cable ends for fraying or damaged strands.
For hydraulic disc brakes, check the ends of the hydraulic hosing for leaks or kinks.
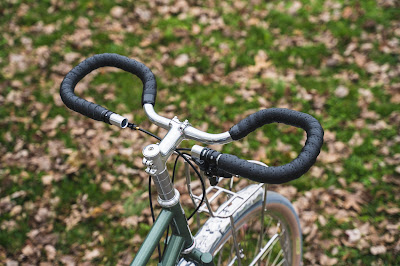
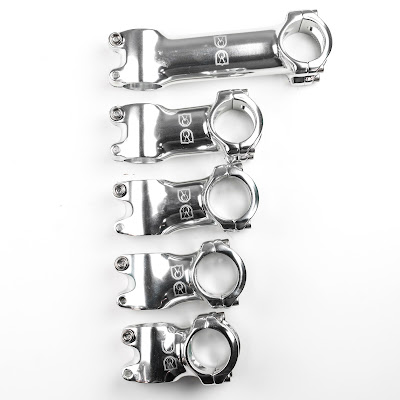
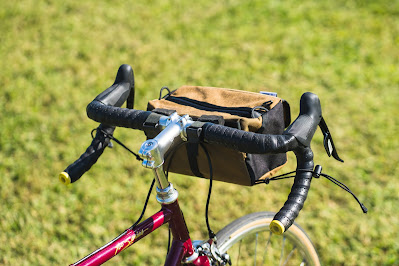
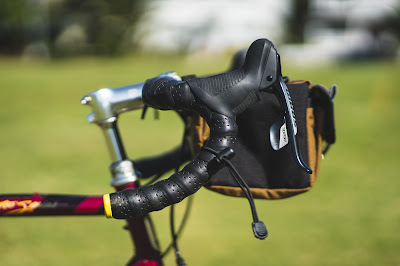
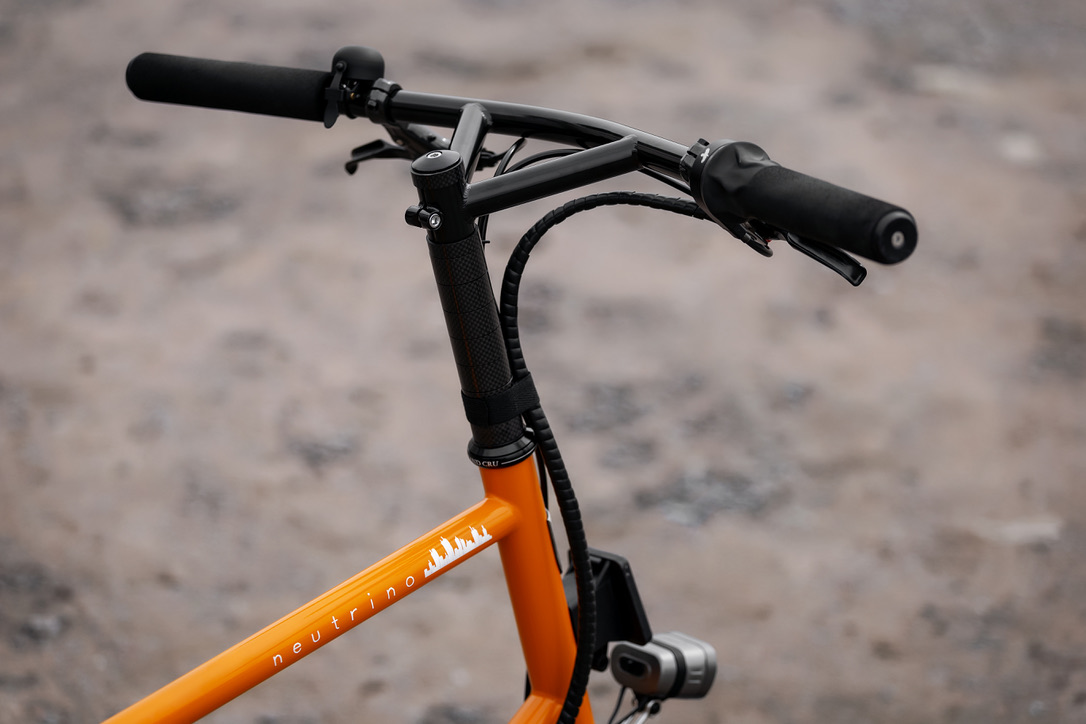
Handlebars
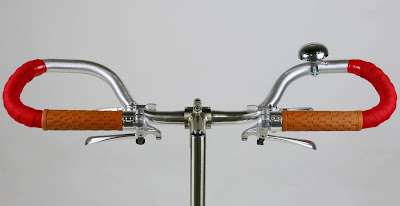
Check the handlebar
tape and grips for any signs of impacts or scuffs that may signify a crash. Very old aluminum alloy bars should be replaced. Carbon bars that have been crashed should be replaced.
Make sure they generally aren't bent and/or corroded.
For drop bars, peel back the hood covers a bit. If there is a lot of chalky powder, it is corrosion. Someone likely sweat a lot and the bars could be in really bad shape under the wrap. Bikes that live on the trainer generally fall prey to corrosion around the handlebars, headset, and fork due to perspiration and lack of fresh air. If I buy a used bike, I'm going to replace the handlebar tape/grips no matter what because people are gross. When you pull back the bar tape, you'll see what needs to be replaced.
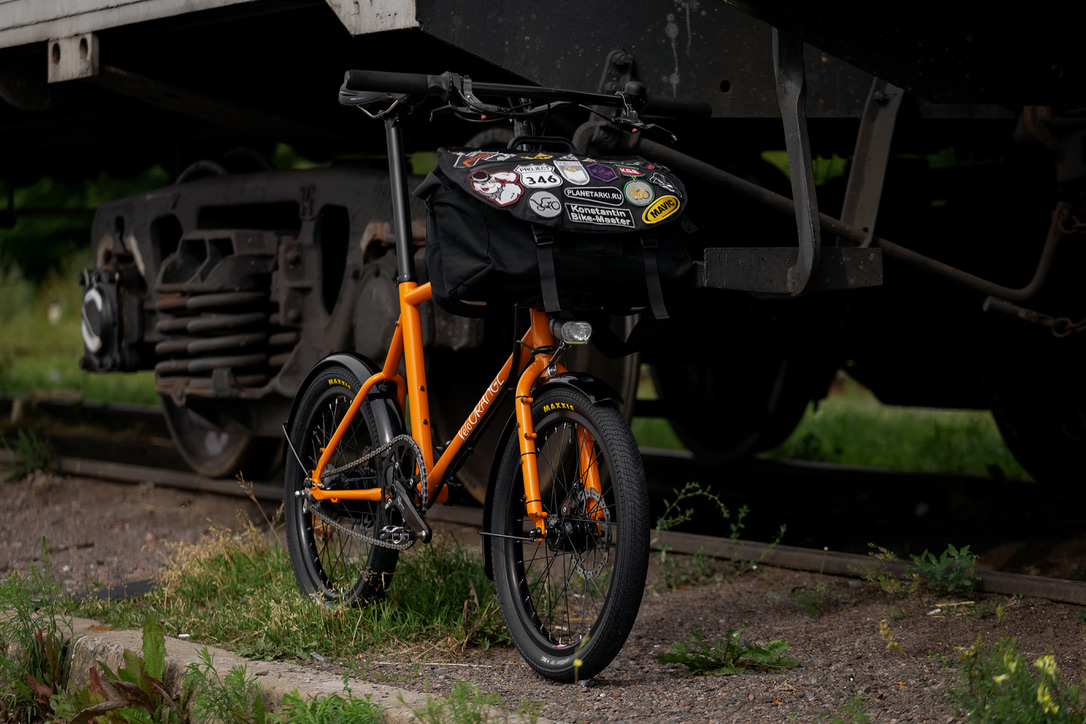
Accessories
What accessories are mounted to the bike?
Kickstands should deploy and retract with relative ease, and should not interfere with the operation of cranks.
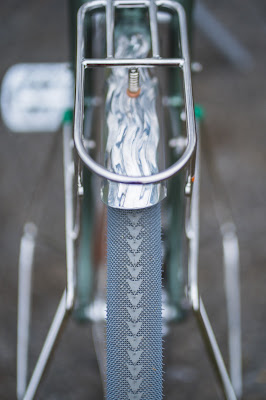
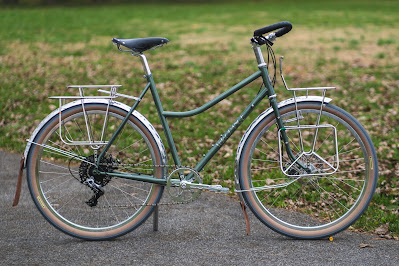
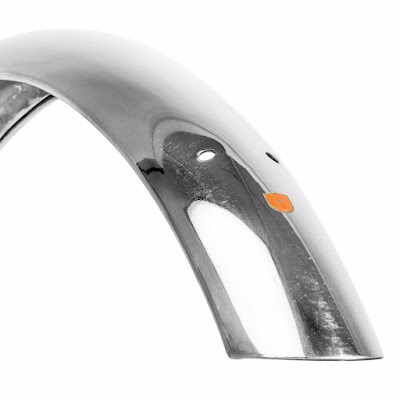
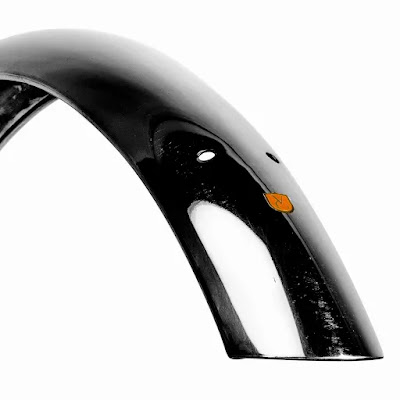
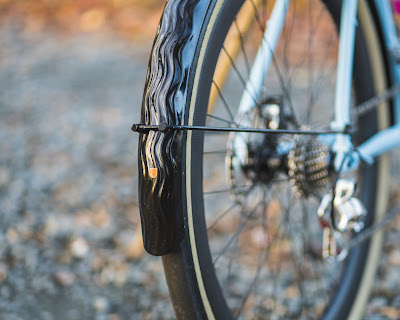
Fenders should be tight and free of debris.
Bottle cages should be tight and not bent up (I've seen bottle cages get mangled because someone's pant leg got caught on it during riding).
Bags should be secure and not hanging in the wheel.
While this list is by no-means complete, we hope this helps in a preliminary check of a bike you currently have or are looking to acquire. A well maintained bicycle is a good bicycle, no matter the brand or age.


